
How to Record Basketball Games: Camera Position, Framing, and Audio
Set up an approved basketball camera position and frame possessions, transitions, and both baskets without losing useful game context.
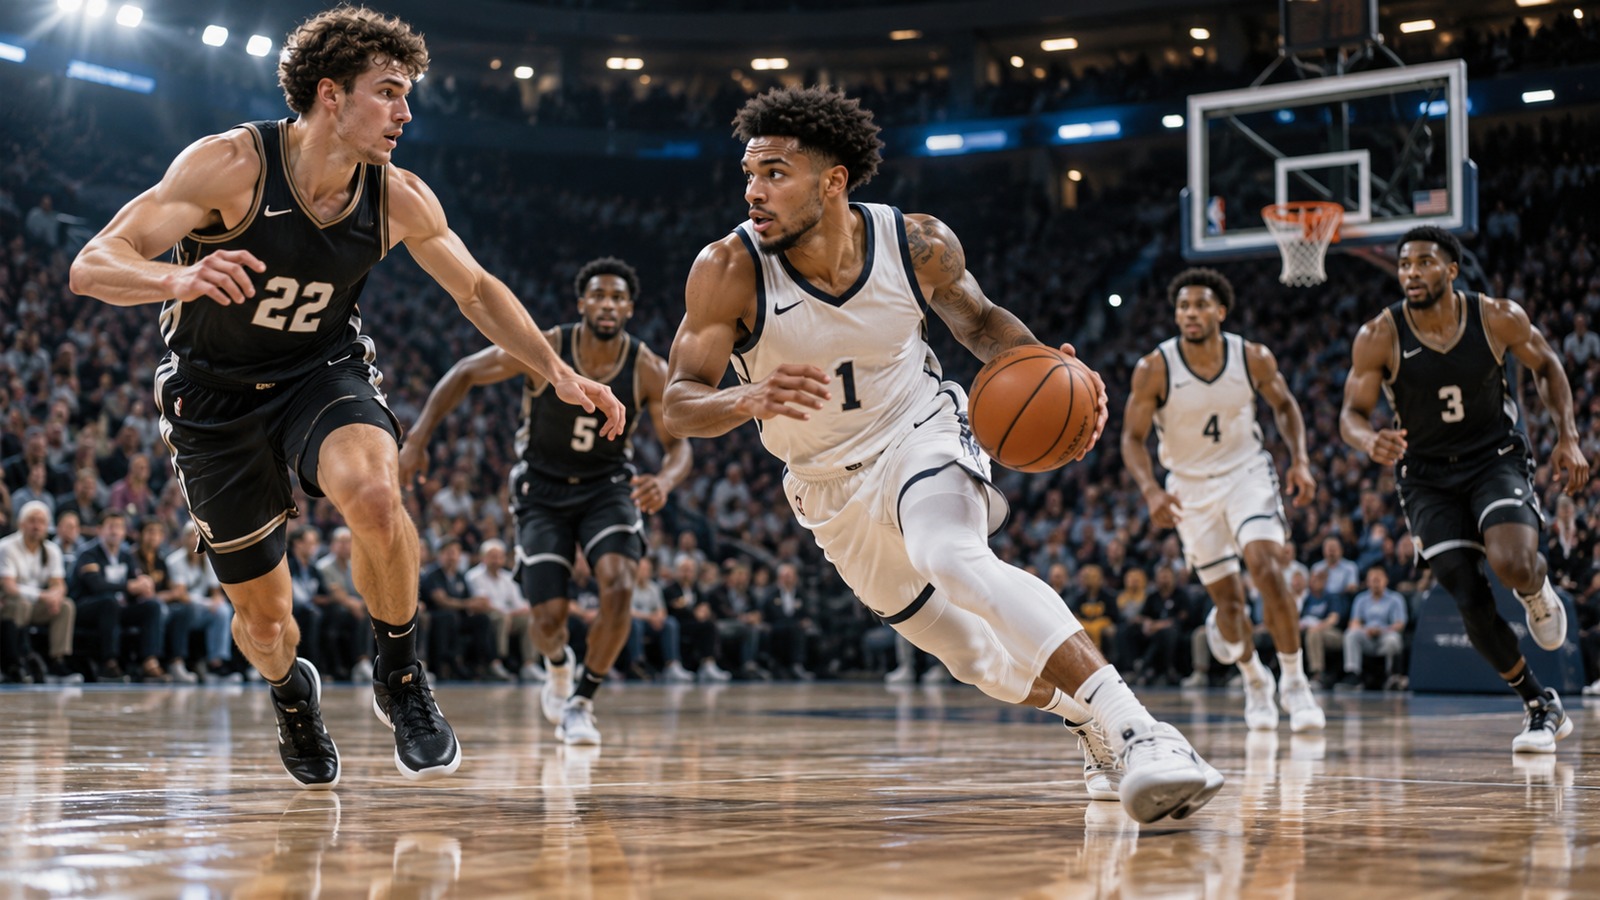
A useful basketball recording shows spacing as well as the player holding the ball. Fast passes, transitions, and a crowded sideline make narrow framing difficult. For a dependable full-game view, prioritize a stable central position and smooth movement over dramatic close-ups.
Choose an approved central position
Ask the venue where recording equipment may be placed. A position near midcourt, with permitted elevation, can help show both halves and reduce the distance the camera must travel. Check the view toward each basket before the game. A railing, scoreboard, or standing spectator can block one end even when the center looks clear.
Set up without obstructing seating, walkways, or officials. If the only allowed spot is low on a sideline, accept a wider view and identify likely obstructions in advance. A second operator is useful only if both people have a clear plan and permission to use their positions.
Frame the possession, not just the ball
Keep the ball handler and nearby passing options visible. On a half-court possession, include enough space to see cuts, screens, and defensive help. During transition, begin a controlled pan as play moves rather than waiting until the action reaches the edge of the frame.
Avoid repeatedly zooming between a wide view and a close-up. Every adjustment creates another chance to lose the play. If the recording is for coaches, ask what area they need to evaluate before deciding how tightly to frame it. Family viewing and tactical review are related but different purposes.
Test gym lighting and sound
Record a short warm-up sequence. Check whether the image is too dark, moving players are difficult to see, or lights produce visible flicker. Available controls differ by device, so test changes before the game rather than assuming one setting works in every gym.
Listen to the audio as well. A microphone beside loud spectators may capture conversation more clearly than play. Position equipment thoughtfully and avoid publishing unintended private commentary. If you add an introduction or interview, record it in a quieter location rather than competing with the entire gym.
Preserve the game record
Start before tip-off and keep recording through the end of each play. Note any interruption and identify missing periods honestly in the description. Record the date, team level, opponent, and final segment order in your library index.
Before publishing, check both baskets, a transition sequence, and the ending. Confirm that the thumbnail depicts this game rather than a different matchup. Link a highlight version to the full replay when both are available.
Use the game-day checklist to prepare equipment, then follow sports video editing for beginners for a clean export that preserves the sequence of play.